

Help Center / Workshop Mode
Use Workshop Mode
Workshop Mode puts your plan on one easy-to-read screen for the bench: the board, the cut list, the build steps, and the materials.
Open Workshop Mode
On a computer: choose Workshop Mode in the Export & Save panel.
On a phone: tap Build in the bottom bar.
From your computer to your phone: in Workshop Mode, choose Copy link for your phone, then open that link on your phone. No account is needed. If your phone already has a design open in Cutting Board Designer, choose Open shared design when the app asks.
What's in Workshop Mode
Use the Board, Cut List, Build Steps, and Materials buttons to jump between sections.
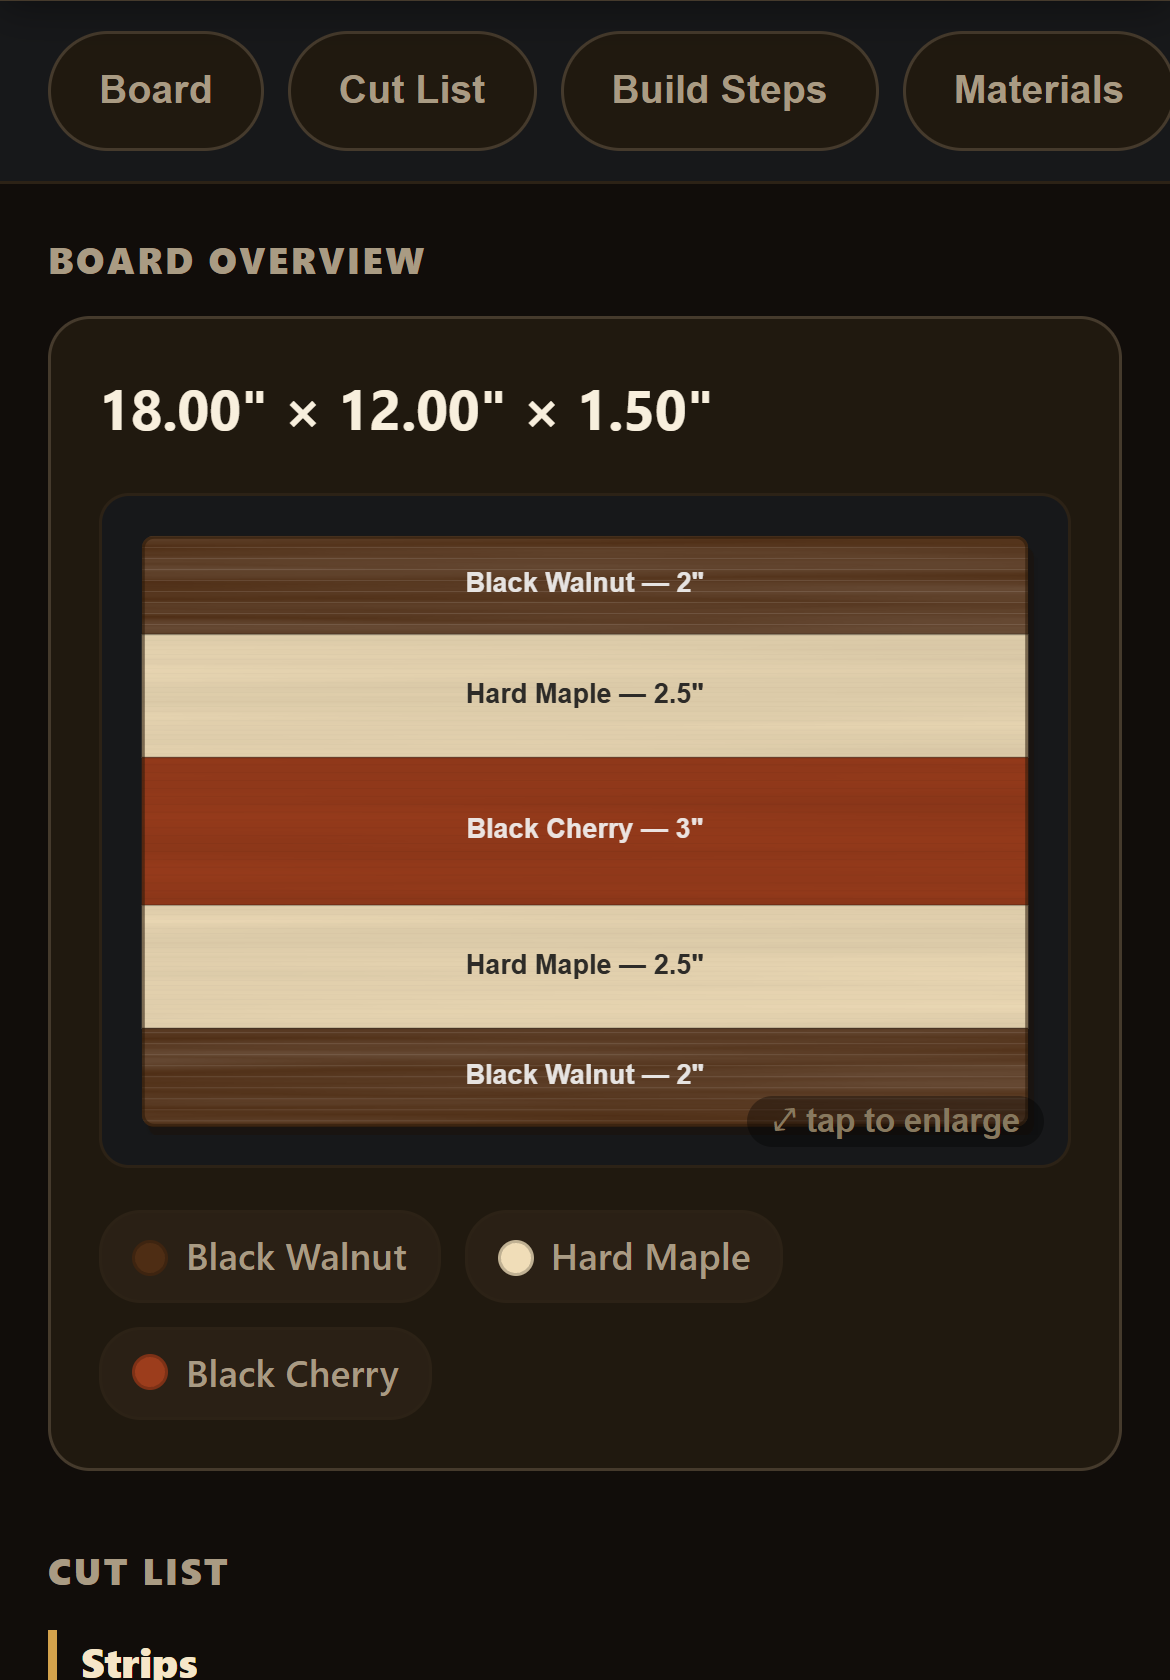
Board: the finished size and the layout of your board. Tap the board to enlarge it.
Cut List: the pieces to cut, with their rough sizes.
Build Steps: the glue-up and build steps in order. Check off each step as you finish it.
Materials: the wood you need for this build.
Good to know
Check marks are saved on that device only. If you open the same design on another device, its checklist starts fresh. To clear the check marks, choose Reset progress.
Workshop Mode tries to keep your screen on while it's open, where your browser supports it.
If your connection drops after Workshop Mode is open, it keeps working.
Grid / Tile Pattern boards don't have step-by-step build steps yet. Use the Cut List and the board layout instead.
Workshop Mode shows your plan but doesn't change it. To change the design, close Workshop Mode and use the Board Editor.
Related articles
Still stuck? Contact me.